
Making a Bluetooth Numpad. Part 3: Enclosure
24 Nov 2017First, electronics, then software, and now woodworking. No wonder making a custom keyboard can be this exciting. In this part you will find mostly pictures of the process, including some remarks. Then, I’ll do a small conclusion of what worked and areas that can be improved upon.
Procuring Materials and Equipment
Not done much woodworking before, so I had to buy most of the tools and materials. I did manage to borrow a table saw and a miter saw. Below I’ll list everything:
Tools
- Table saw (borrowed)
- Miter saw (borrowed)
- Dremel (bought)
- Router attachment for dremel (bought)
- Cordless drill (already owned)
- Twist drill bits set (bought)
- Hot glue gun (already owned)
- Clamps (bought)
Materials
- Oak plank (bought)
- Wood glue (bought)
- Osmo 3062 Clear hardwax-oil (bought)
- Brass screws (bought)
- Electrical tape (aldready owned)
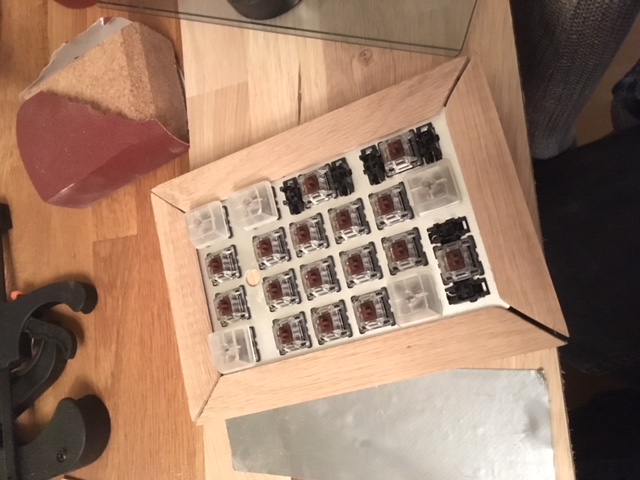
Cutting the Frame
Unfortunately I lost the photos taken during the frame cutting. Basically, I scribbled some measurements on paper based on length and width of the metal plate. I adjusted the measurements to allow the plate to be inserted in a 2-3 mm groove in the frame.
The thickness of the oak plank will also influence these measurements. I only managed to find an oak plank that was 1,8 cm deep.
Finally I had to decide how deep the box should be. I ended up with 3 cm, which left some room for the lid.

As you can see from the scribbles, I’m not that good at planning. Had to do some improvisation along the way.
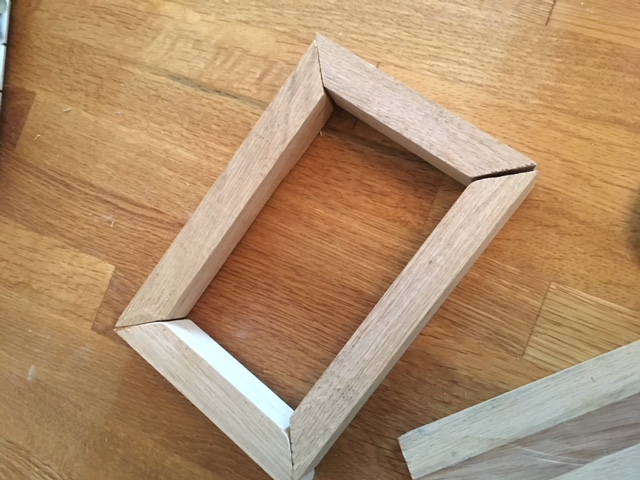
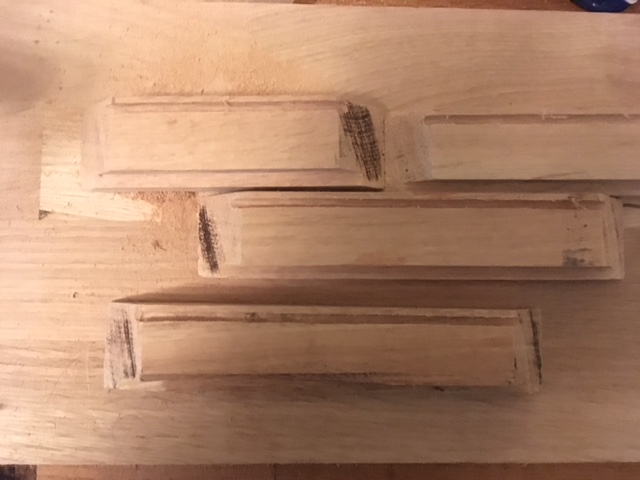
I used the table saw to cut apart a 3cm piece from the oak plank. Then, I cut a 0.9 cm groove along an edge with the table saw. This will allow the lid to be flush with the frame.
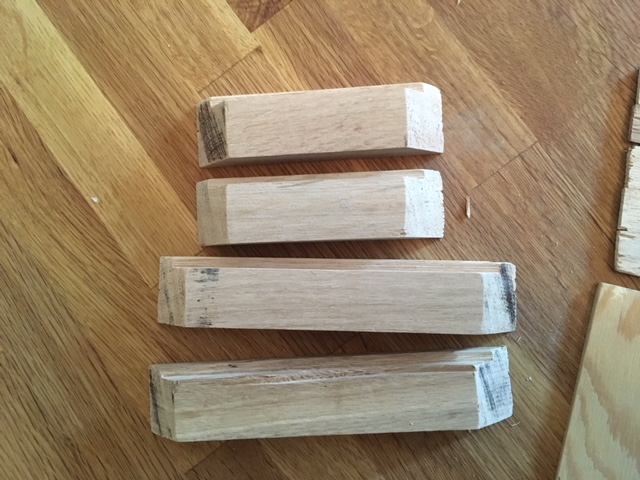
With the measurements tweaked and finalized, I cut the fairly long piece of wood with the miter saw on a 45 degree angle.
This was not easy to get right. The wood was hard to cut, and I got a lot of tearout. I added some electrical tape to reduce this.
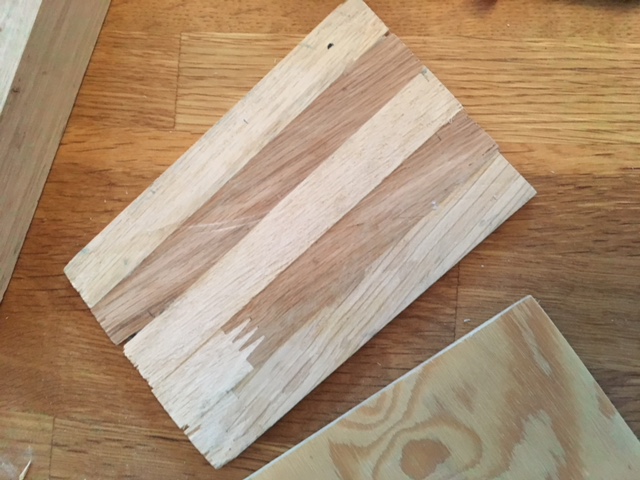
To create the lid I cut a really thin 0.4 cm piece from the oak plank. This piece was then parted into fitting lengths. Later these thin pieces were glued together, forming the lid.
Metal plate groove
This is the reason why I bought a dremel and a router attachement. I needed some extra precision to carve out the grooves.
I tested the router attachment first on a discarded piece of oak to get a feel of the device, and how to use it.
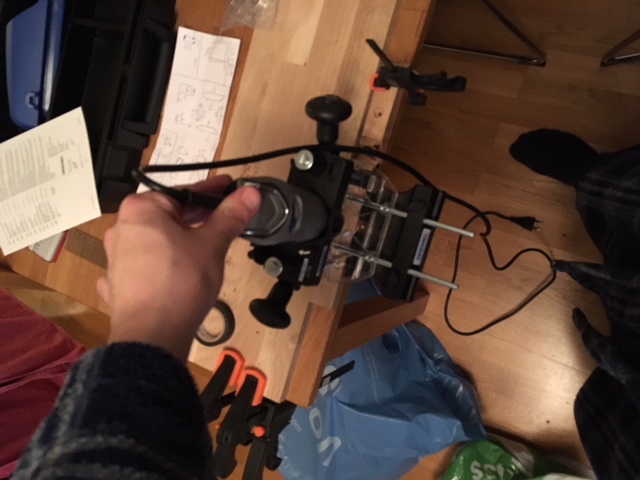
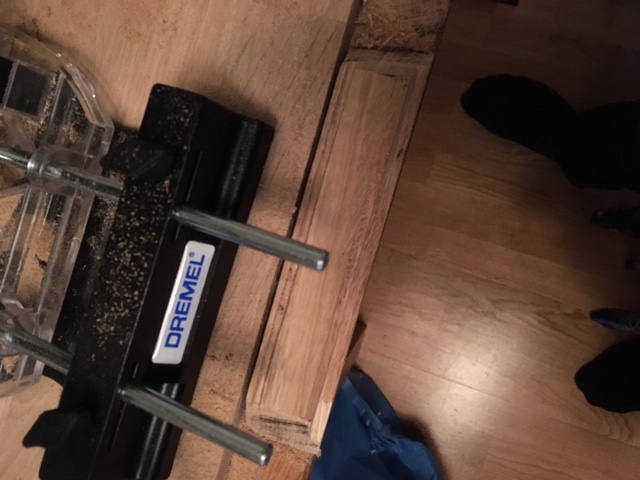
Unfortunately, I forgot to buy proper router bits for the dremel so I went over the wood in several passes with a bit that looked router-y. I clamped down the remainder of the oak plank and a discarded frame piece to my kitchen dinner table to keep the frame pieces from moving when cutting the groove. Luckily, it worked out well!
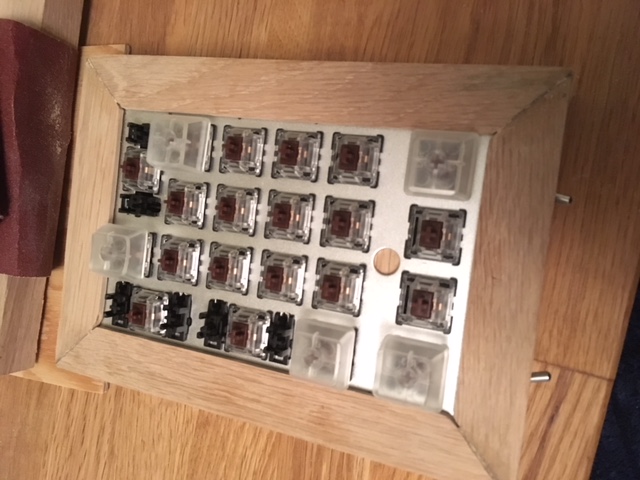
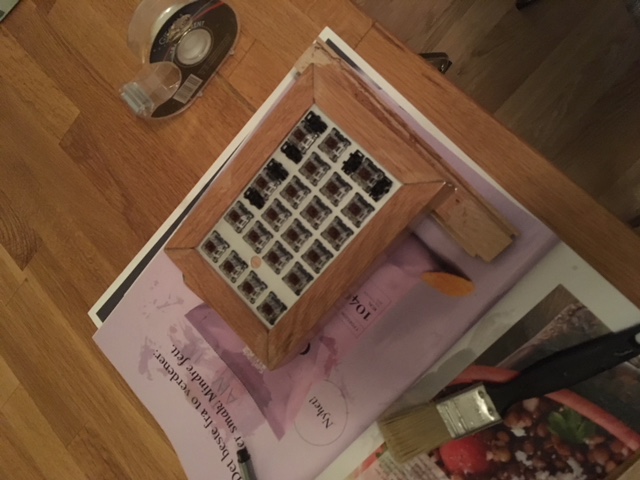
This allowed me to test the fit of the frame. Not a perfect fit, but good enough.
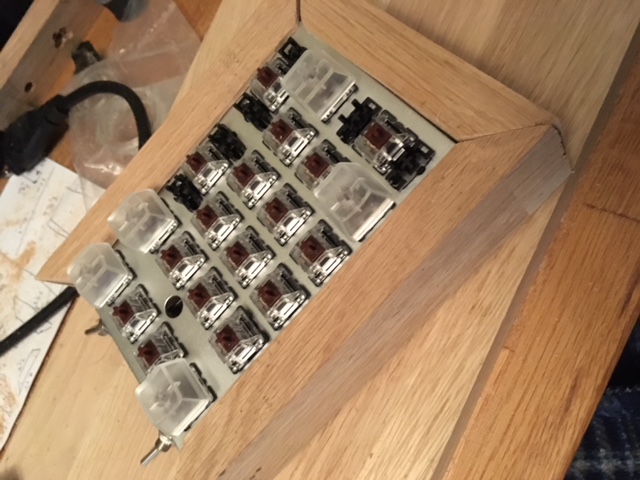
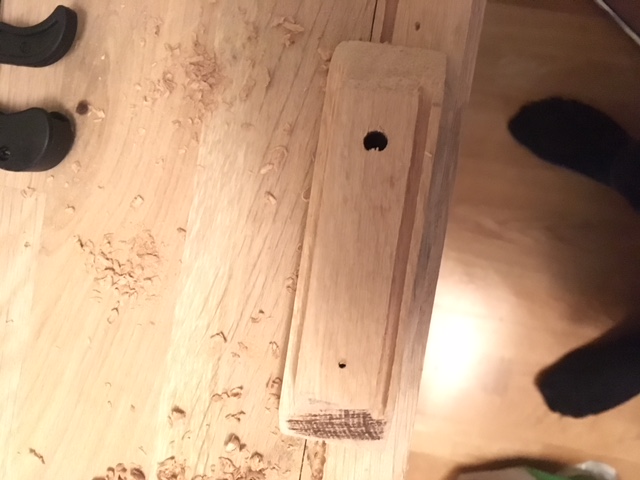
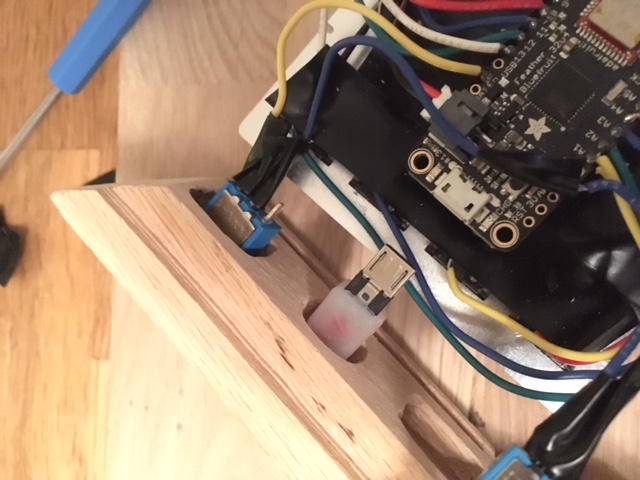
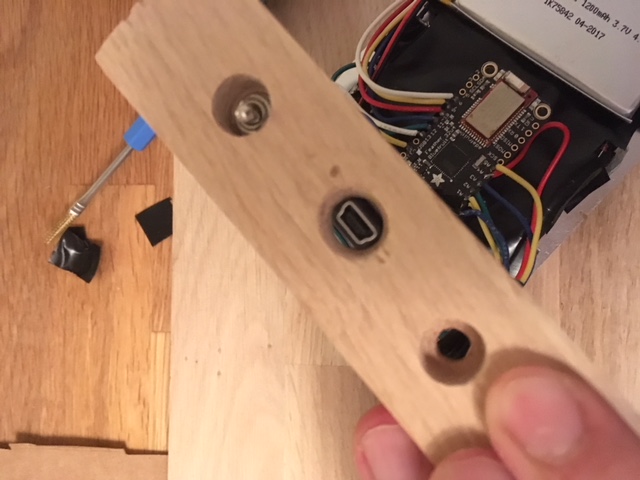
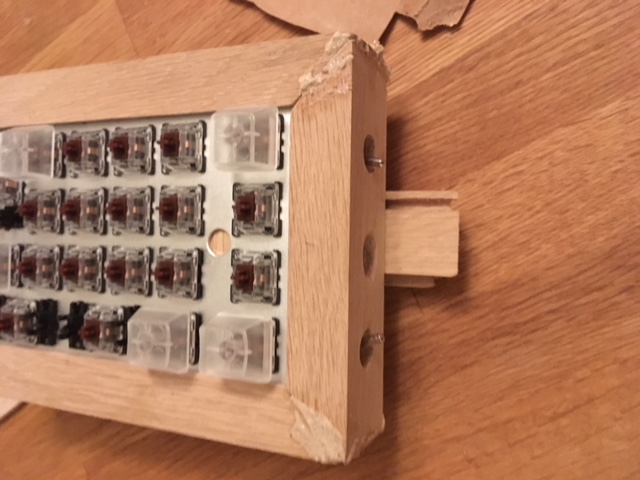
Drilling holes for the USB and Switches
In one of the frame pieces I had to droill three holes. Two for the switches and one for the USB. The frame is pretty thick, so this meant a lot of carving and drilling. This was also a bit nerve wracking, since any errors would most likely be very visible, and could result in me having to cut a new piece.
First, I marked the spot where I would drill a 10 mm hole about halfway in. I used a nail with some tape to ensure I would not drill to far in.
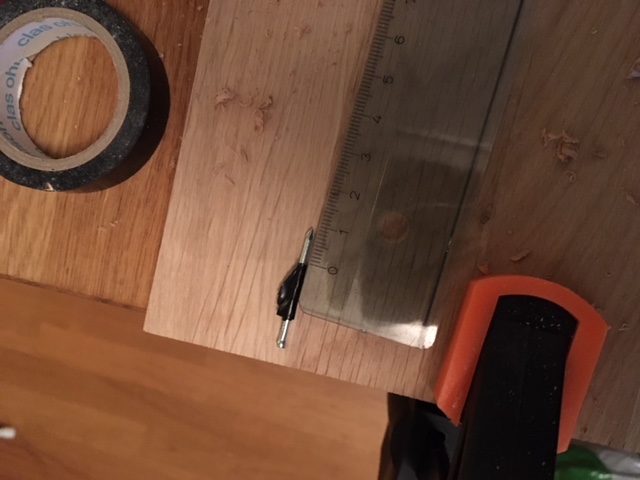
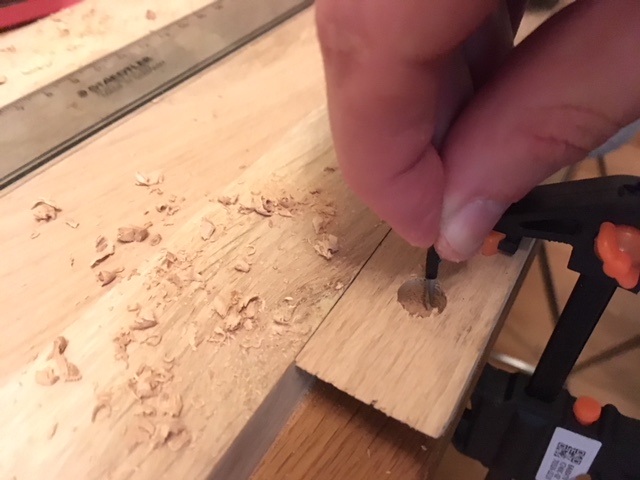
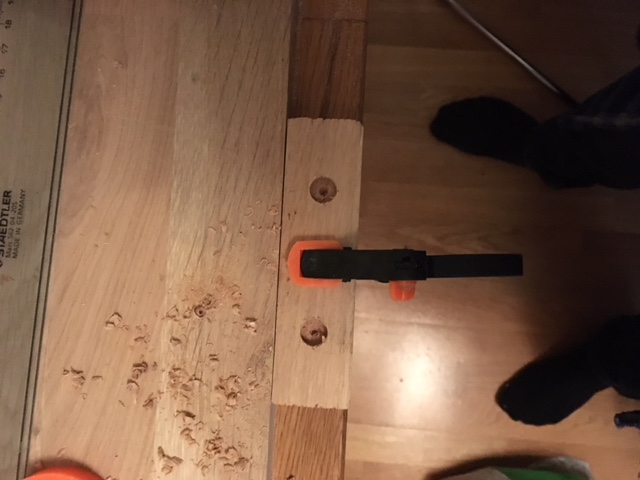
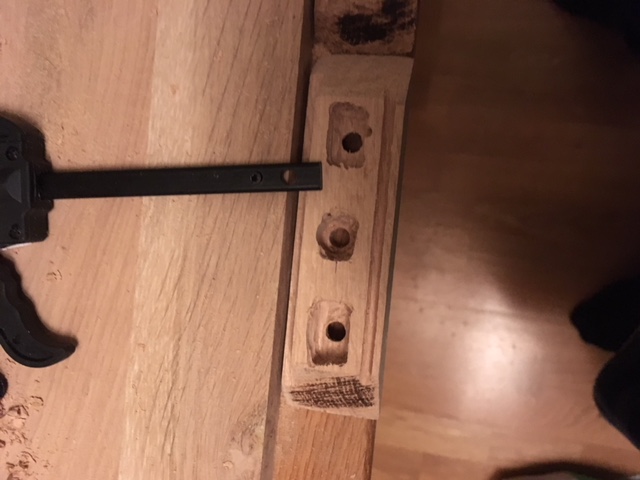
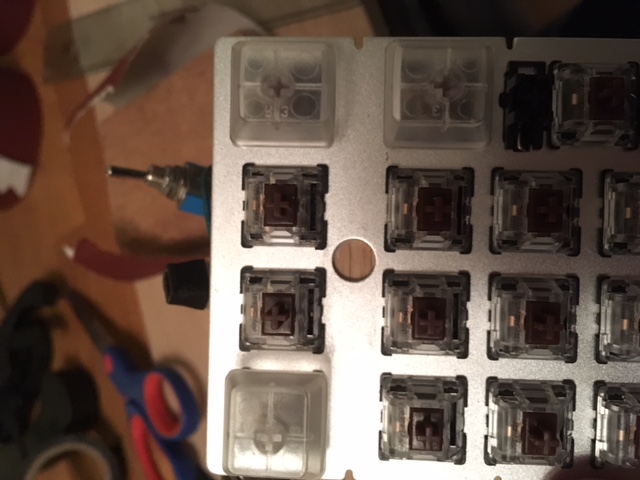
Then I switched from a 10 mm bit to a 6 mm bit and drilled all the way through. The neck of the switches is threaded and can be secured with a small fastener.
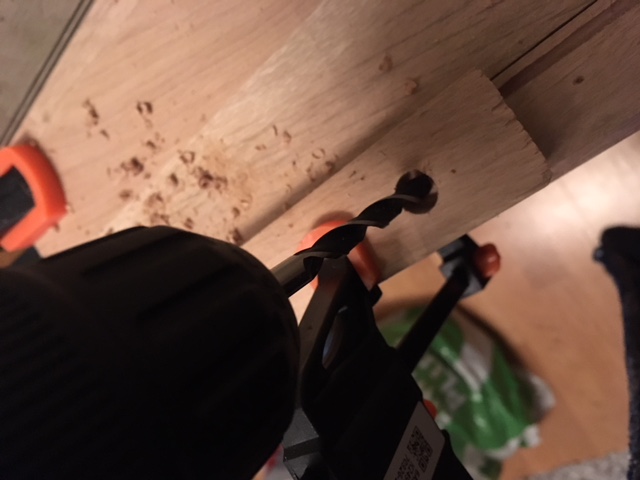
As you can see in the picture above, the threaded neck was not long enought to fasten on the other side. This meant I had to carve out an area from the inside of the wood piece. In the picture below a 10 mm hole for the USB connector has also been drilled. The router attachment came in handy here as well.
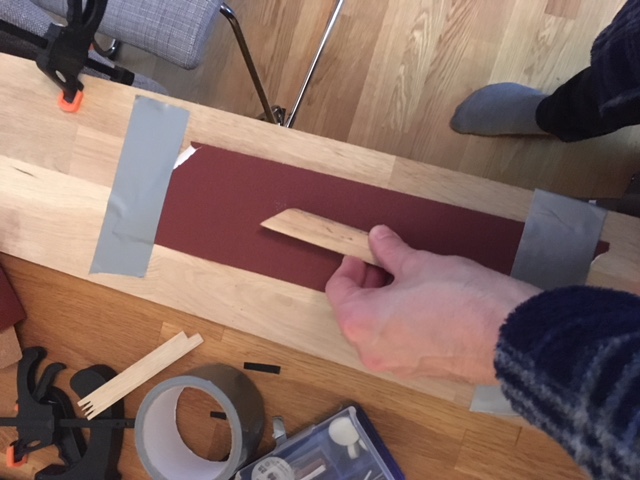
Finally I did a lot a sanding of all the pieces, including the lid.
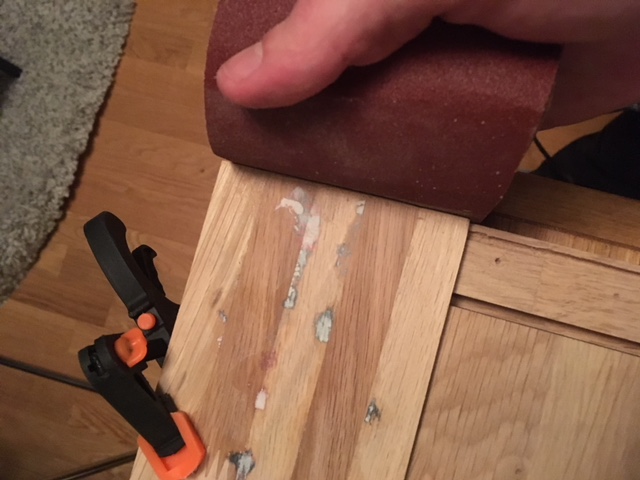
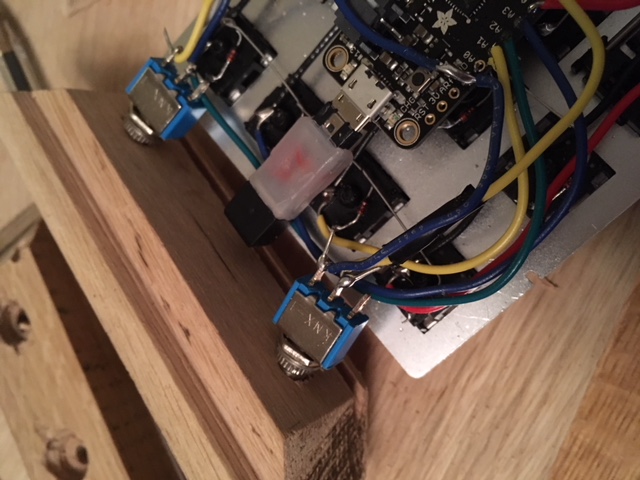
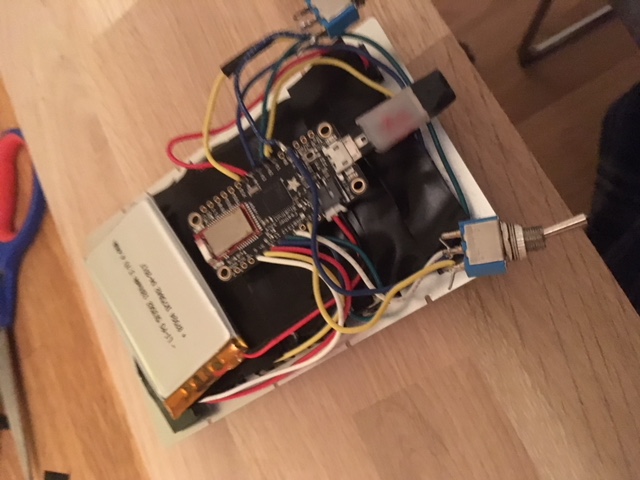
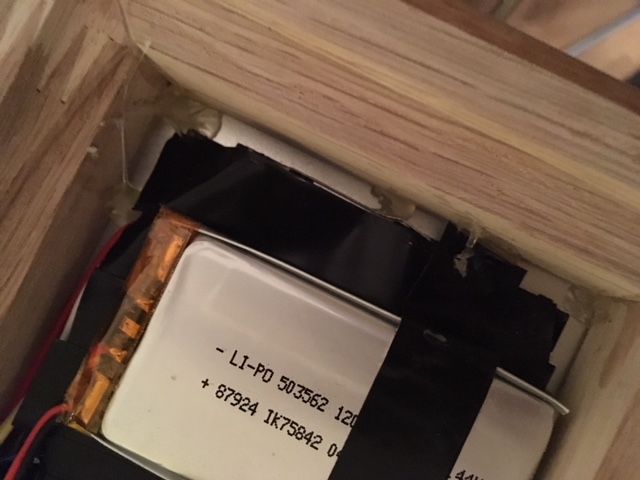
I also added some electrical tape to separate the hand-wiring from the MCU.
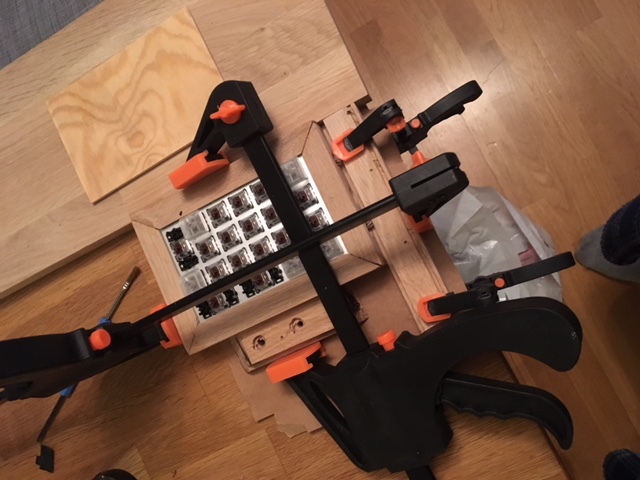
Gluing the Mess Together
First, I glued a small piece of wood to close of the hole in the metal plate.
The lid had to be glued together.
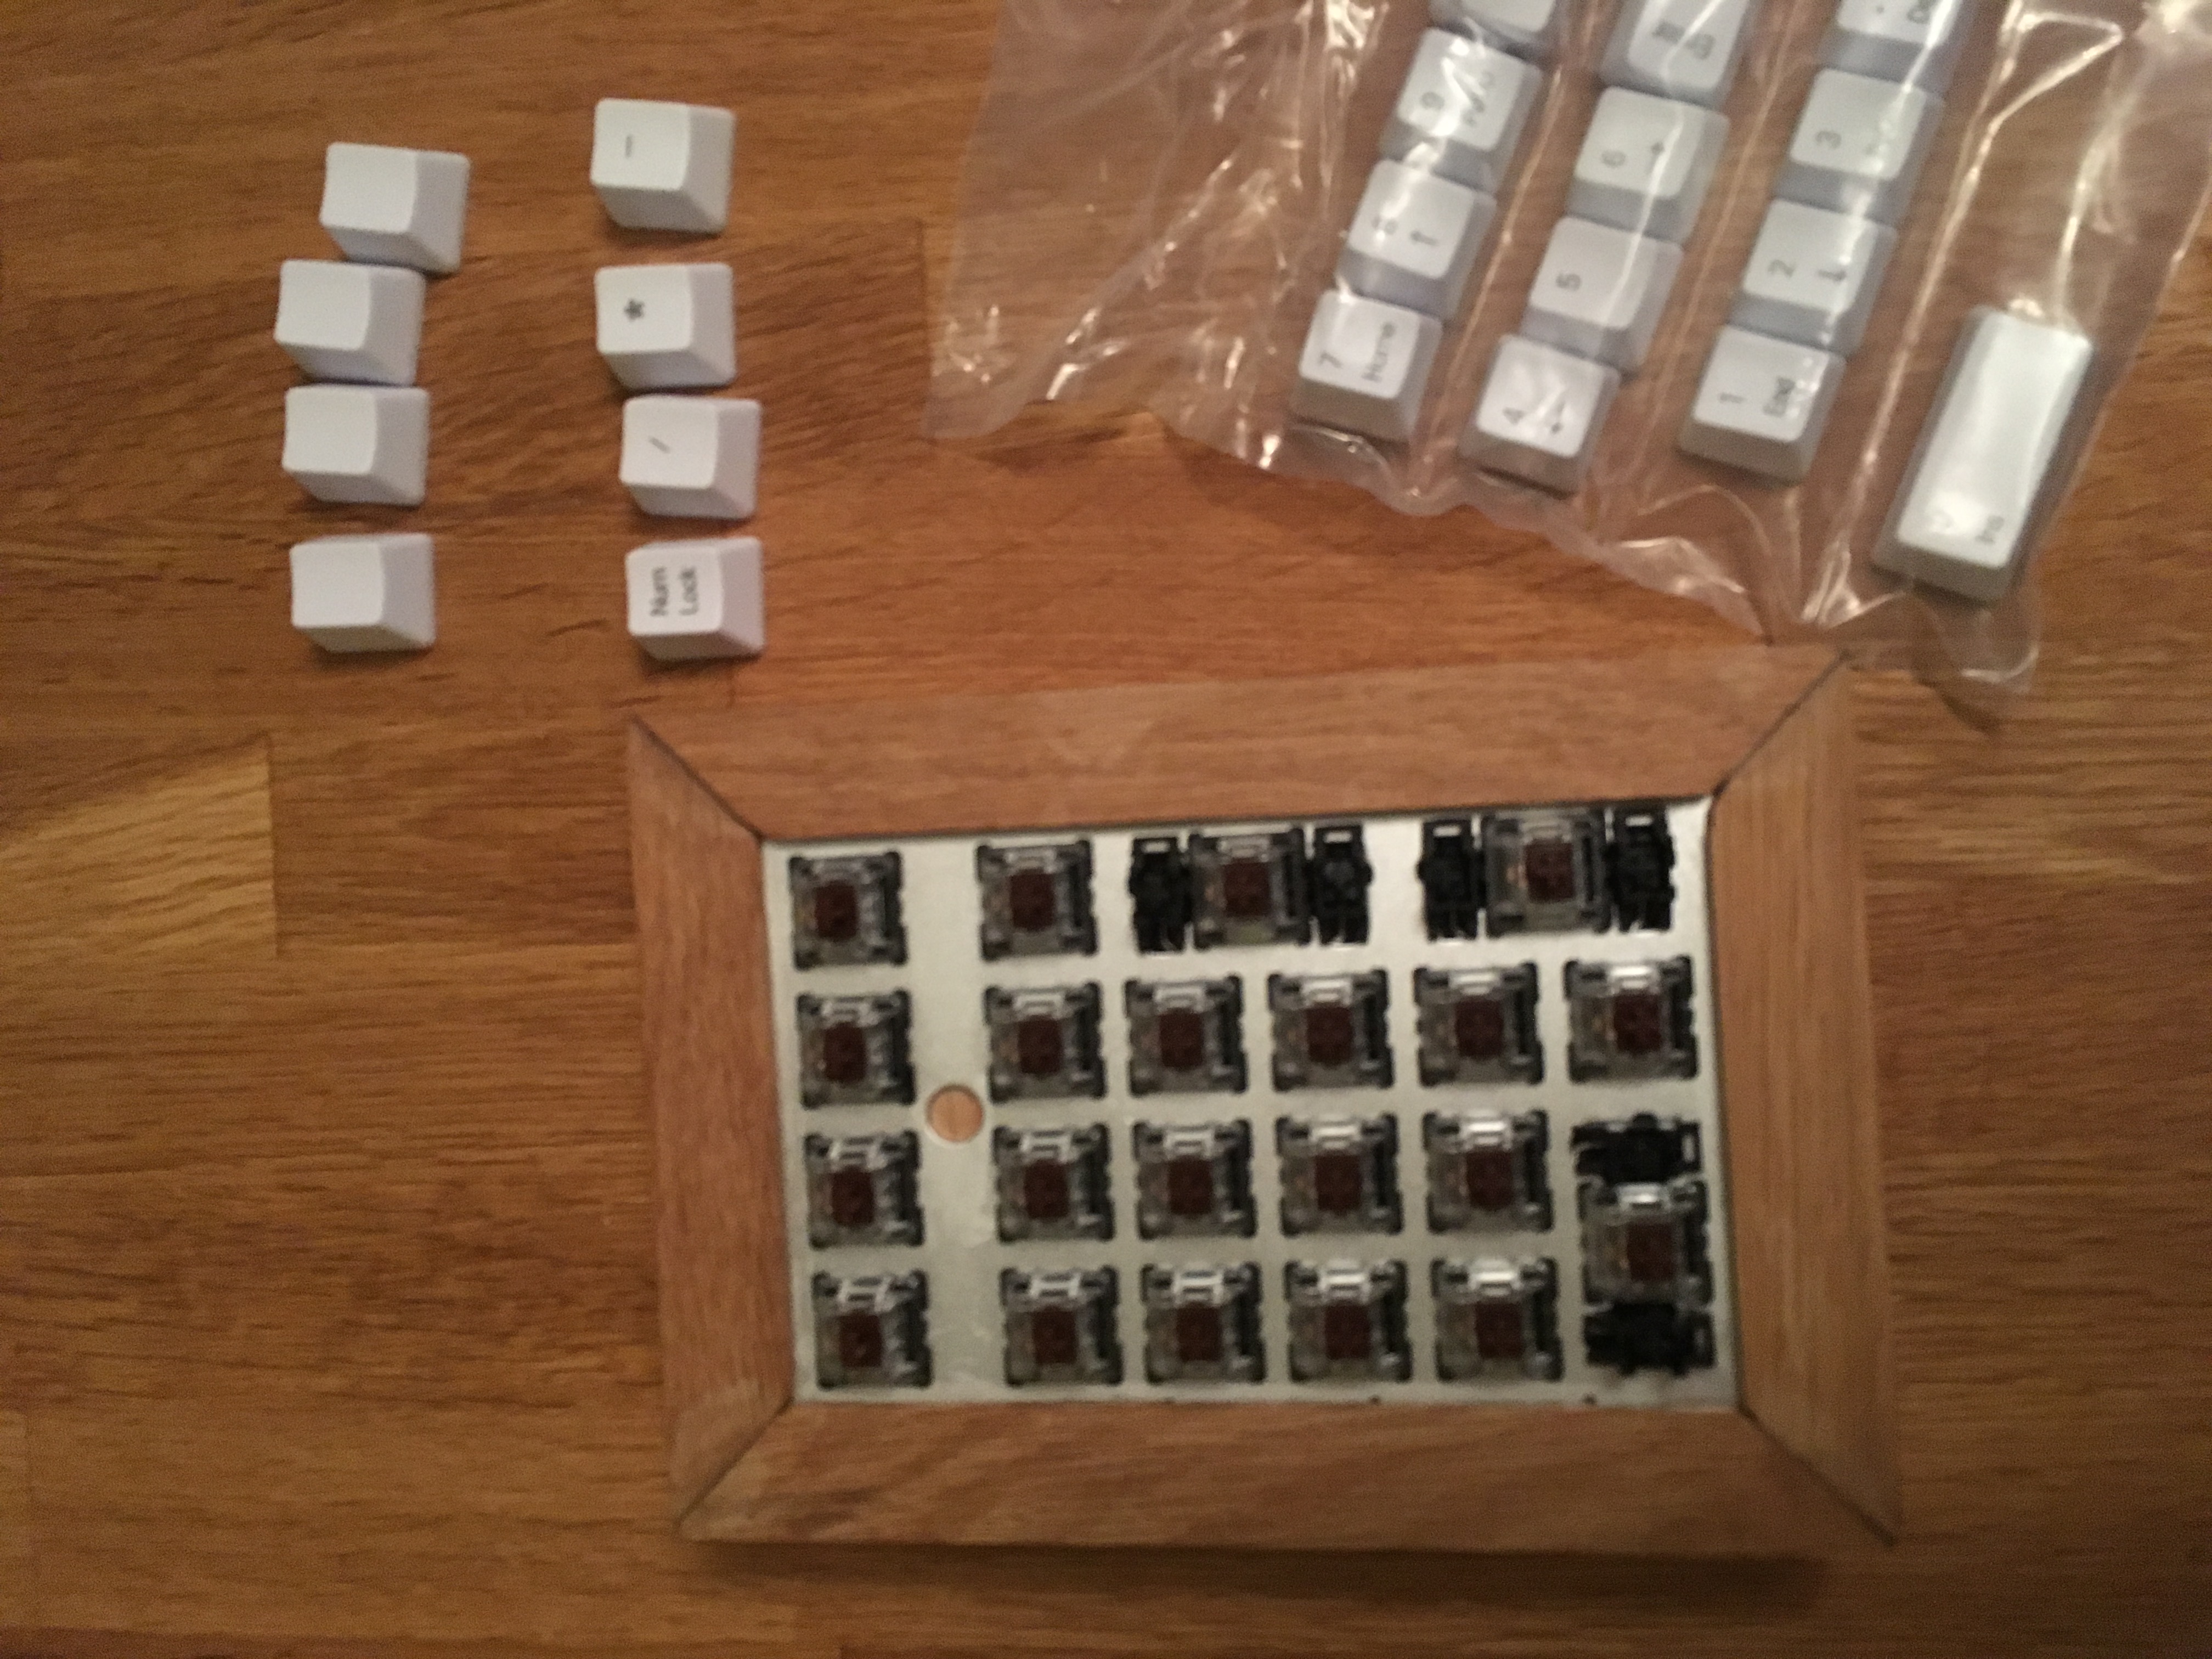
I, of course (did not almost forget), to test that the numpad still worked before gluing the frame to it. Testing numpad by connecting it to a computer and verified that all keys still worked using keyboardTester.com. The F13 and up keys were tested at this site.

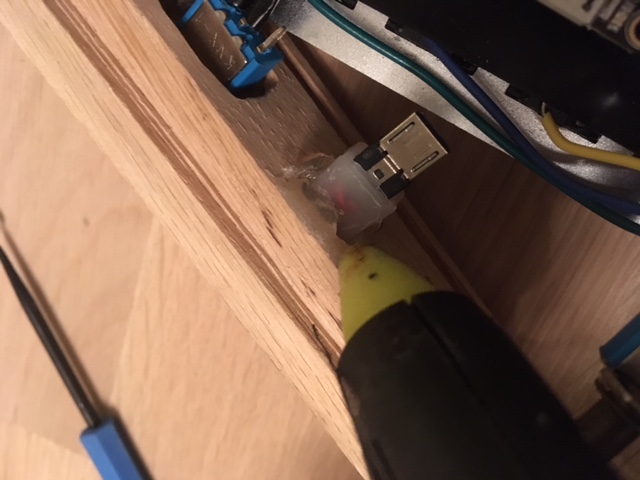
The switches and the USB was fastnened to the top piece. Hot glue was used for the USB connector.
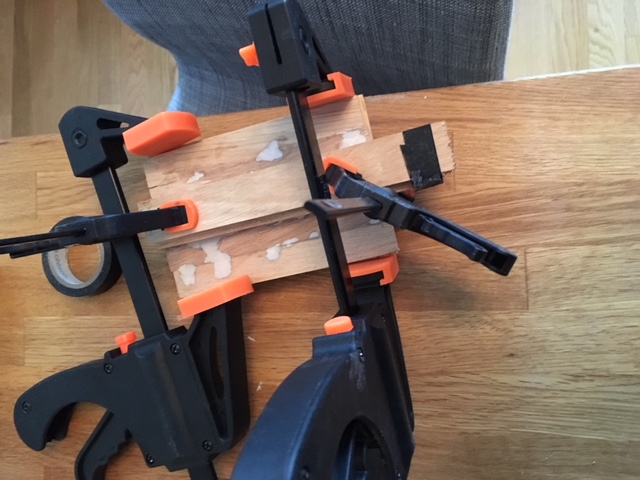
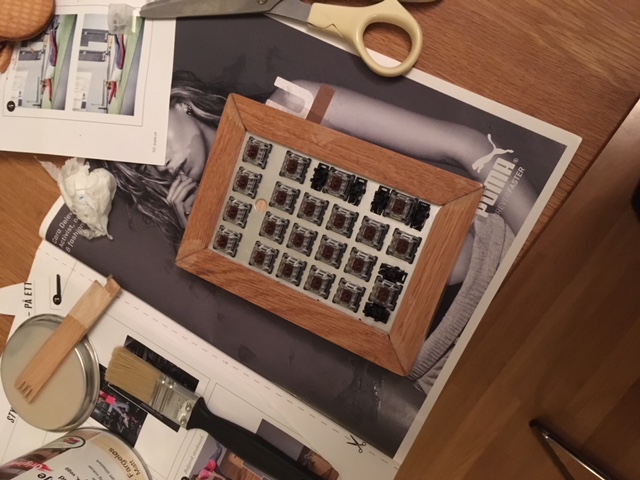
Then, a final test of the frame. It fit, but not perfectly. Some gaps. Might have appeared because I sanded all the 45 degree surfaces. I probably should have avoided that.
Applied wood glue to all 45 degree angled surfaces. Should have used tape here to avoid glue squeeze out. But forgot, of course.

Finishing Touches
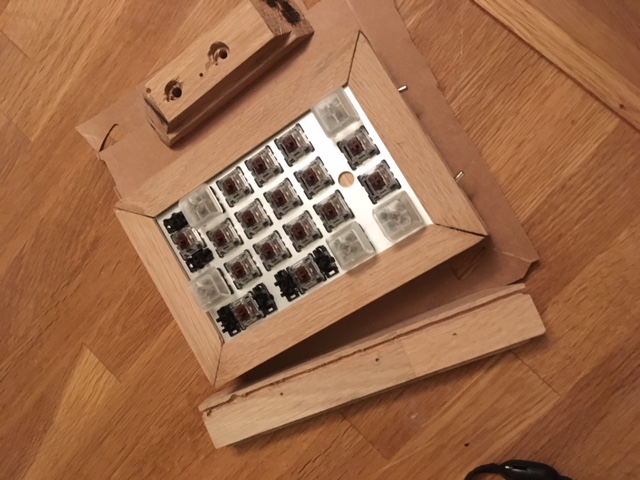
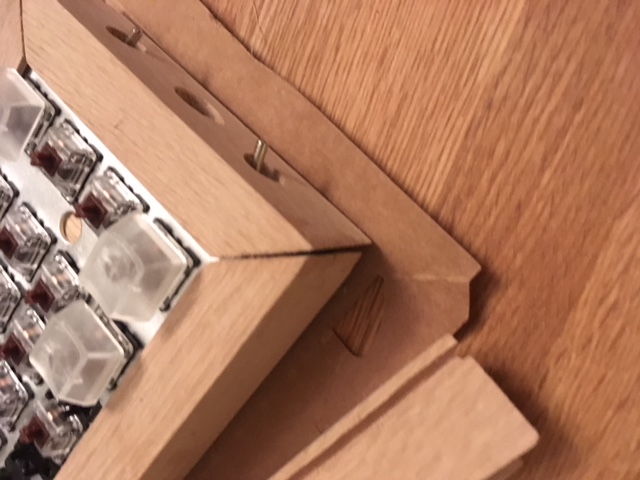
I noticed that the frame had pretty large gaps after the glue had dried overnight. I made some wood filler by mixed some of the sawdust with glue, and tried to fill in the gaps.
I glued the metal plate to the frame with hot glue.
Coated the frame and lid with hardwax oil. Did that twice.
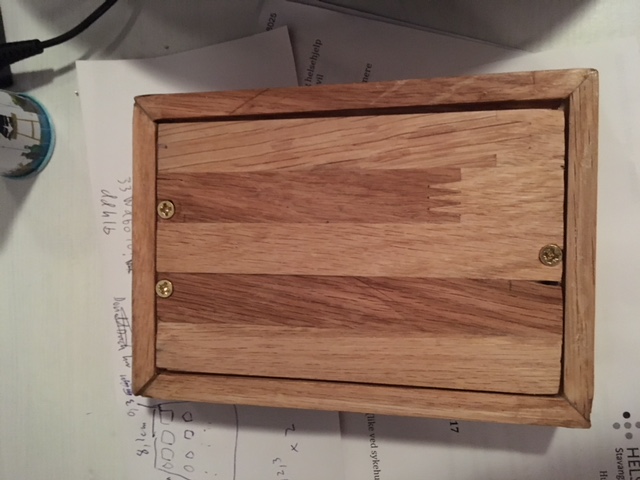
Securing the Lid
After gluing and coating the frame and lid, the final thing left to do was securing the lid to the bottom of the frame.
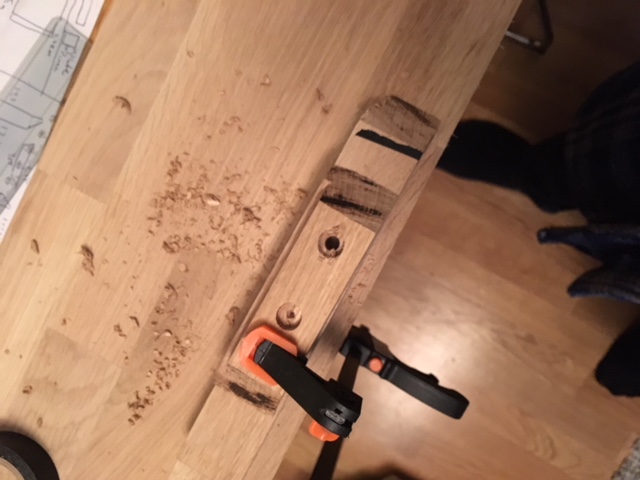
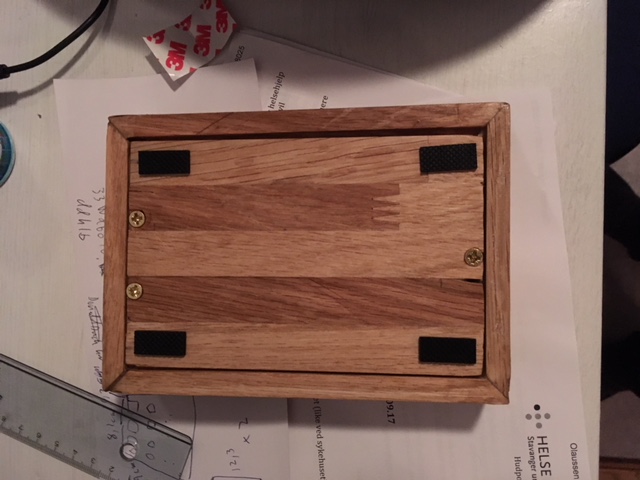
I drilled 3mm pilot holes in the lid and down into the frame. Done to prevent wood from cracking, and since the screws are really close to the edge of the lid and the frame.
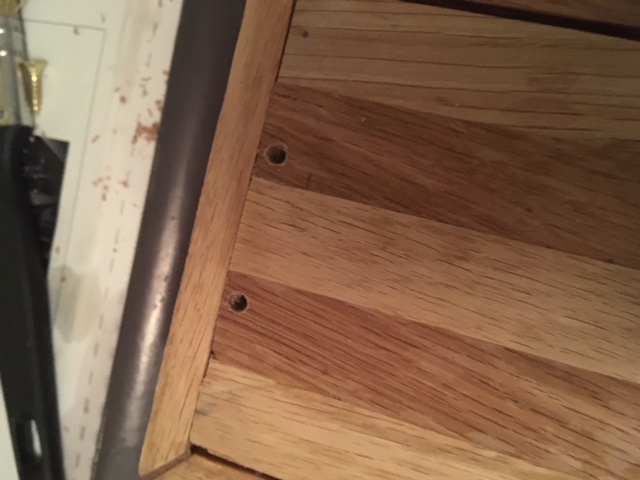
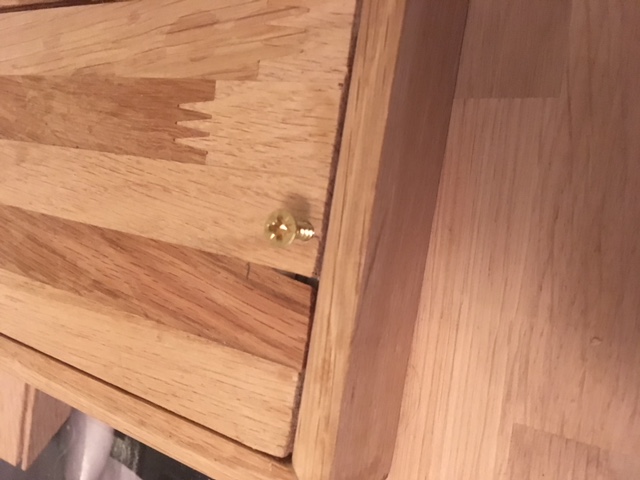
Furthermore, I had to sand away a bigger diameter around the holes to make the screw heads flush with the lid surface.
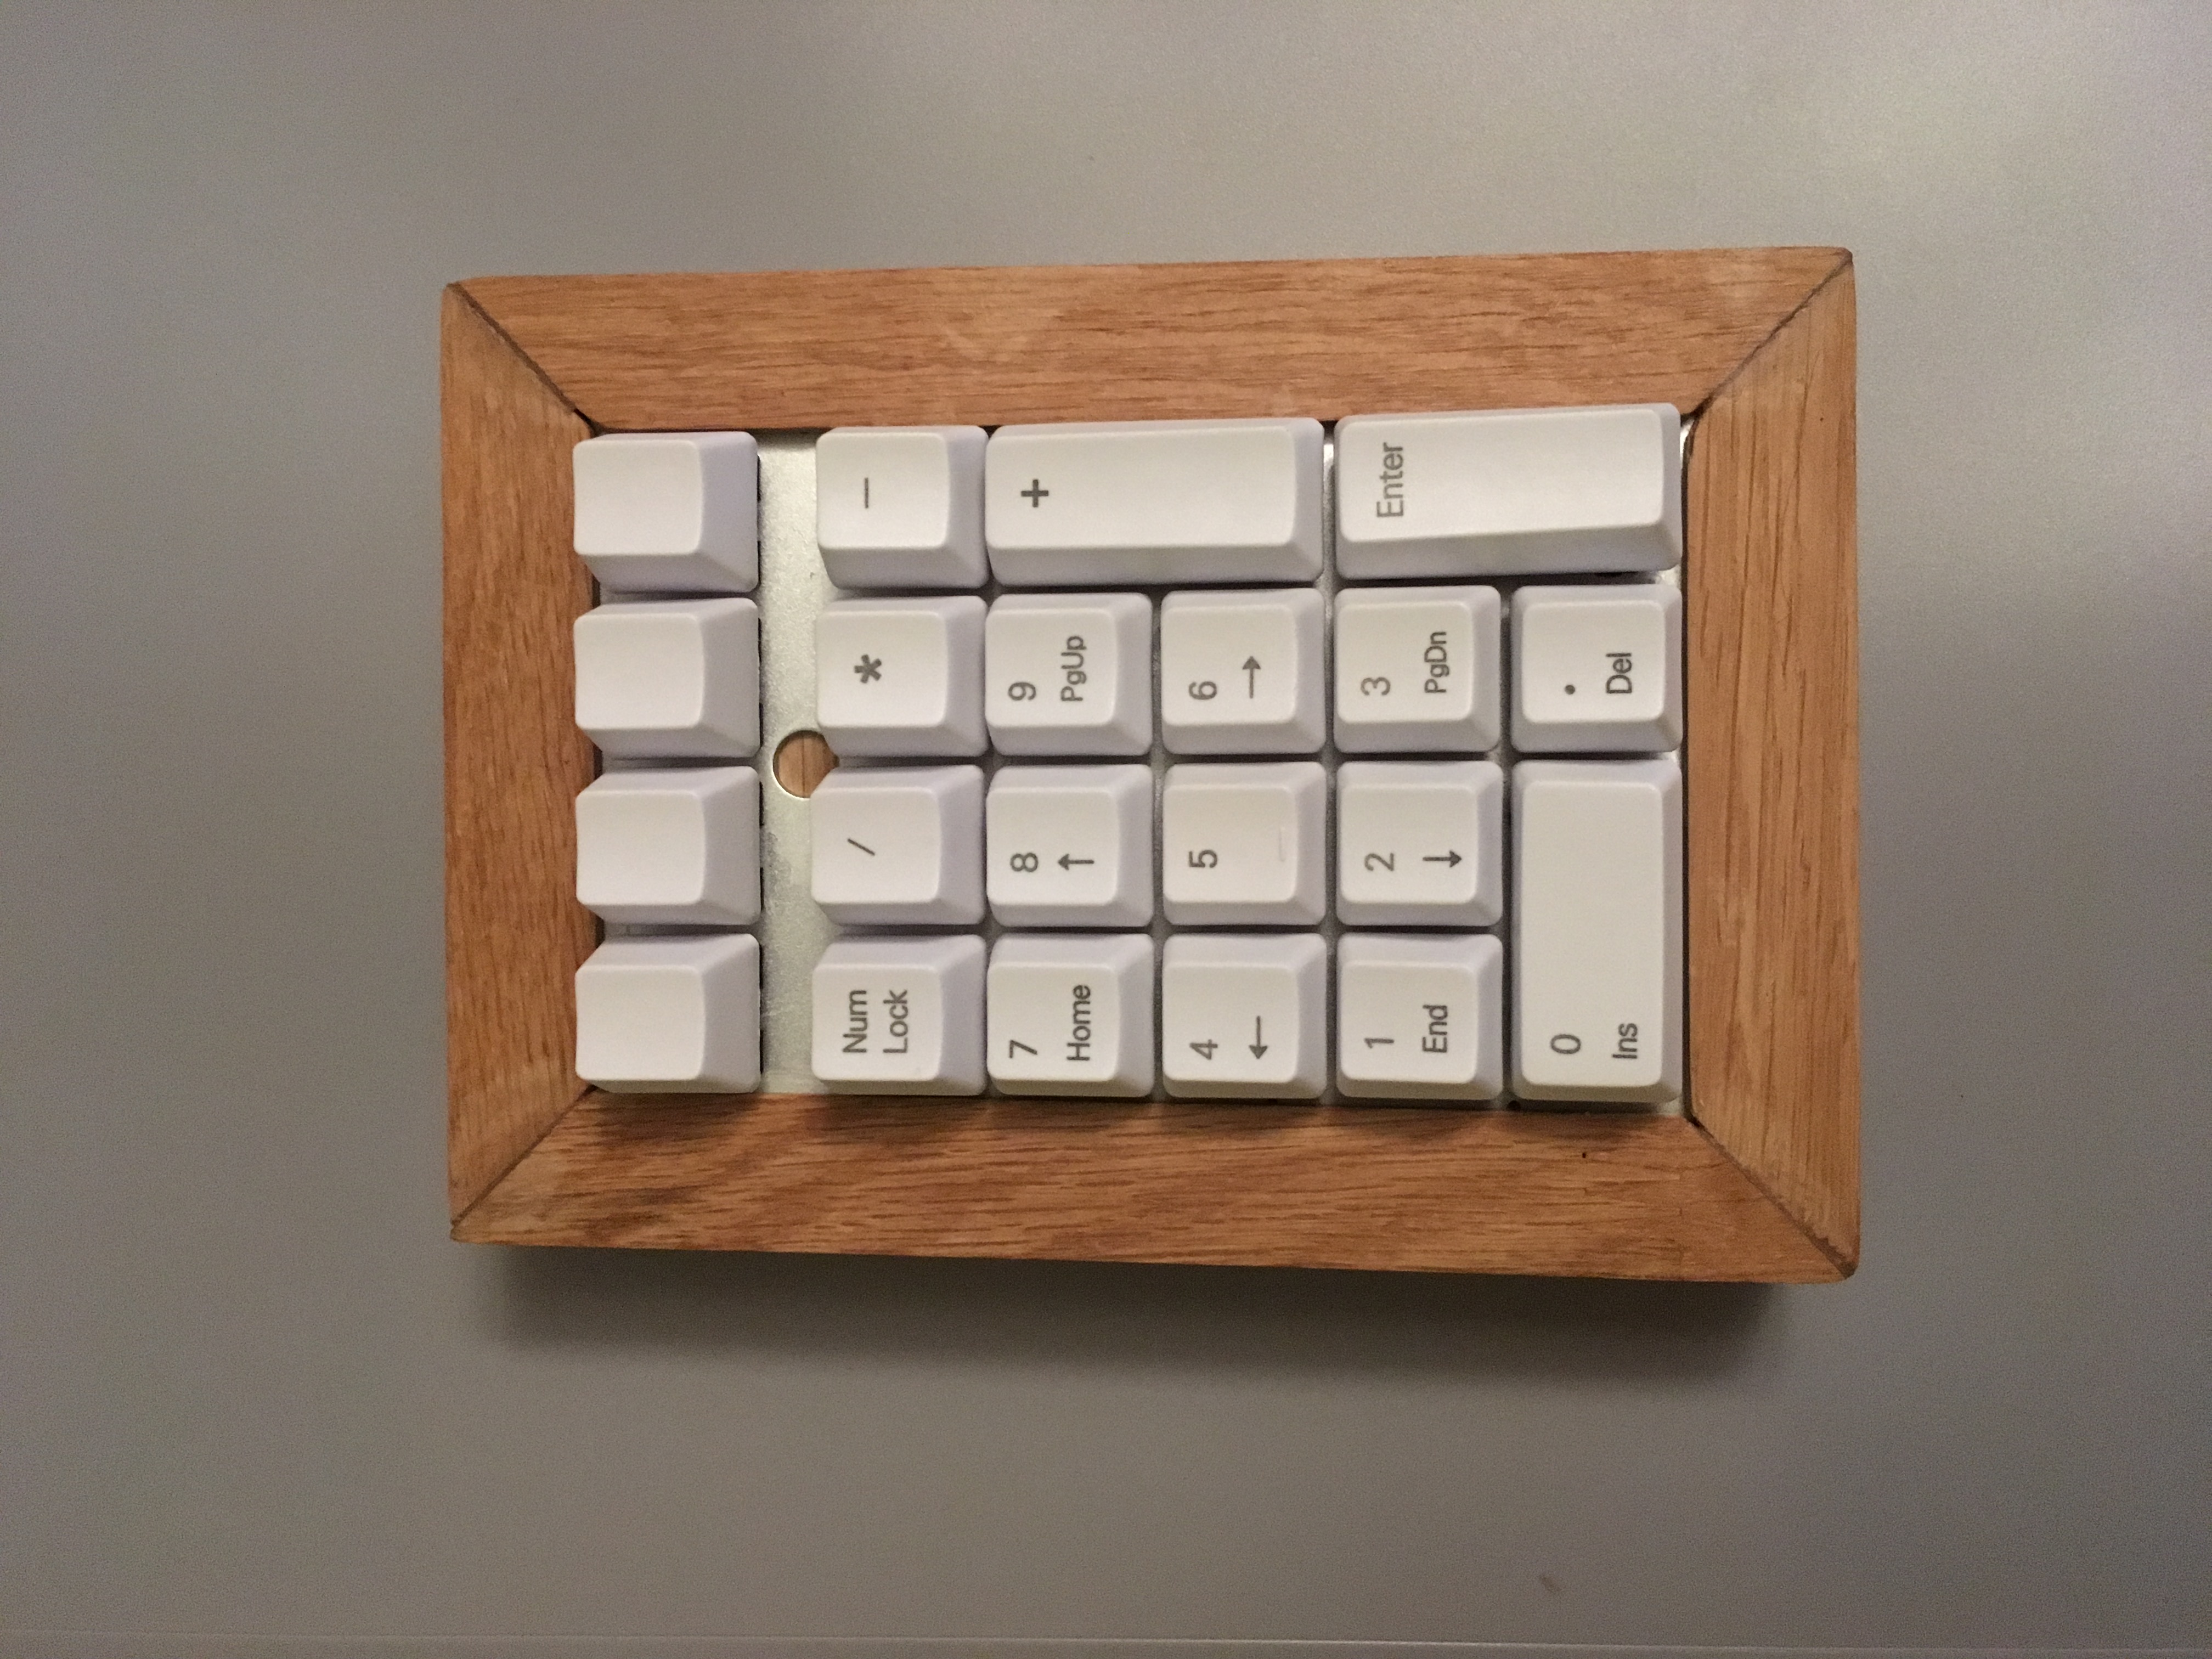
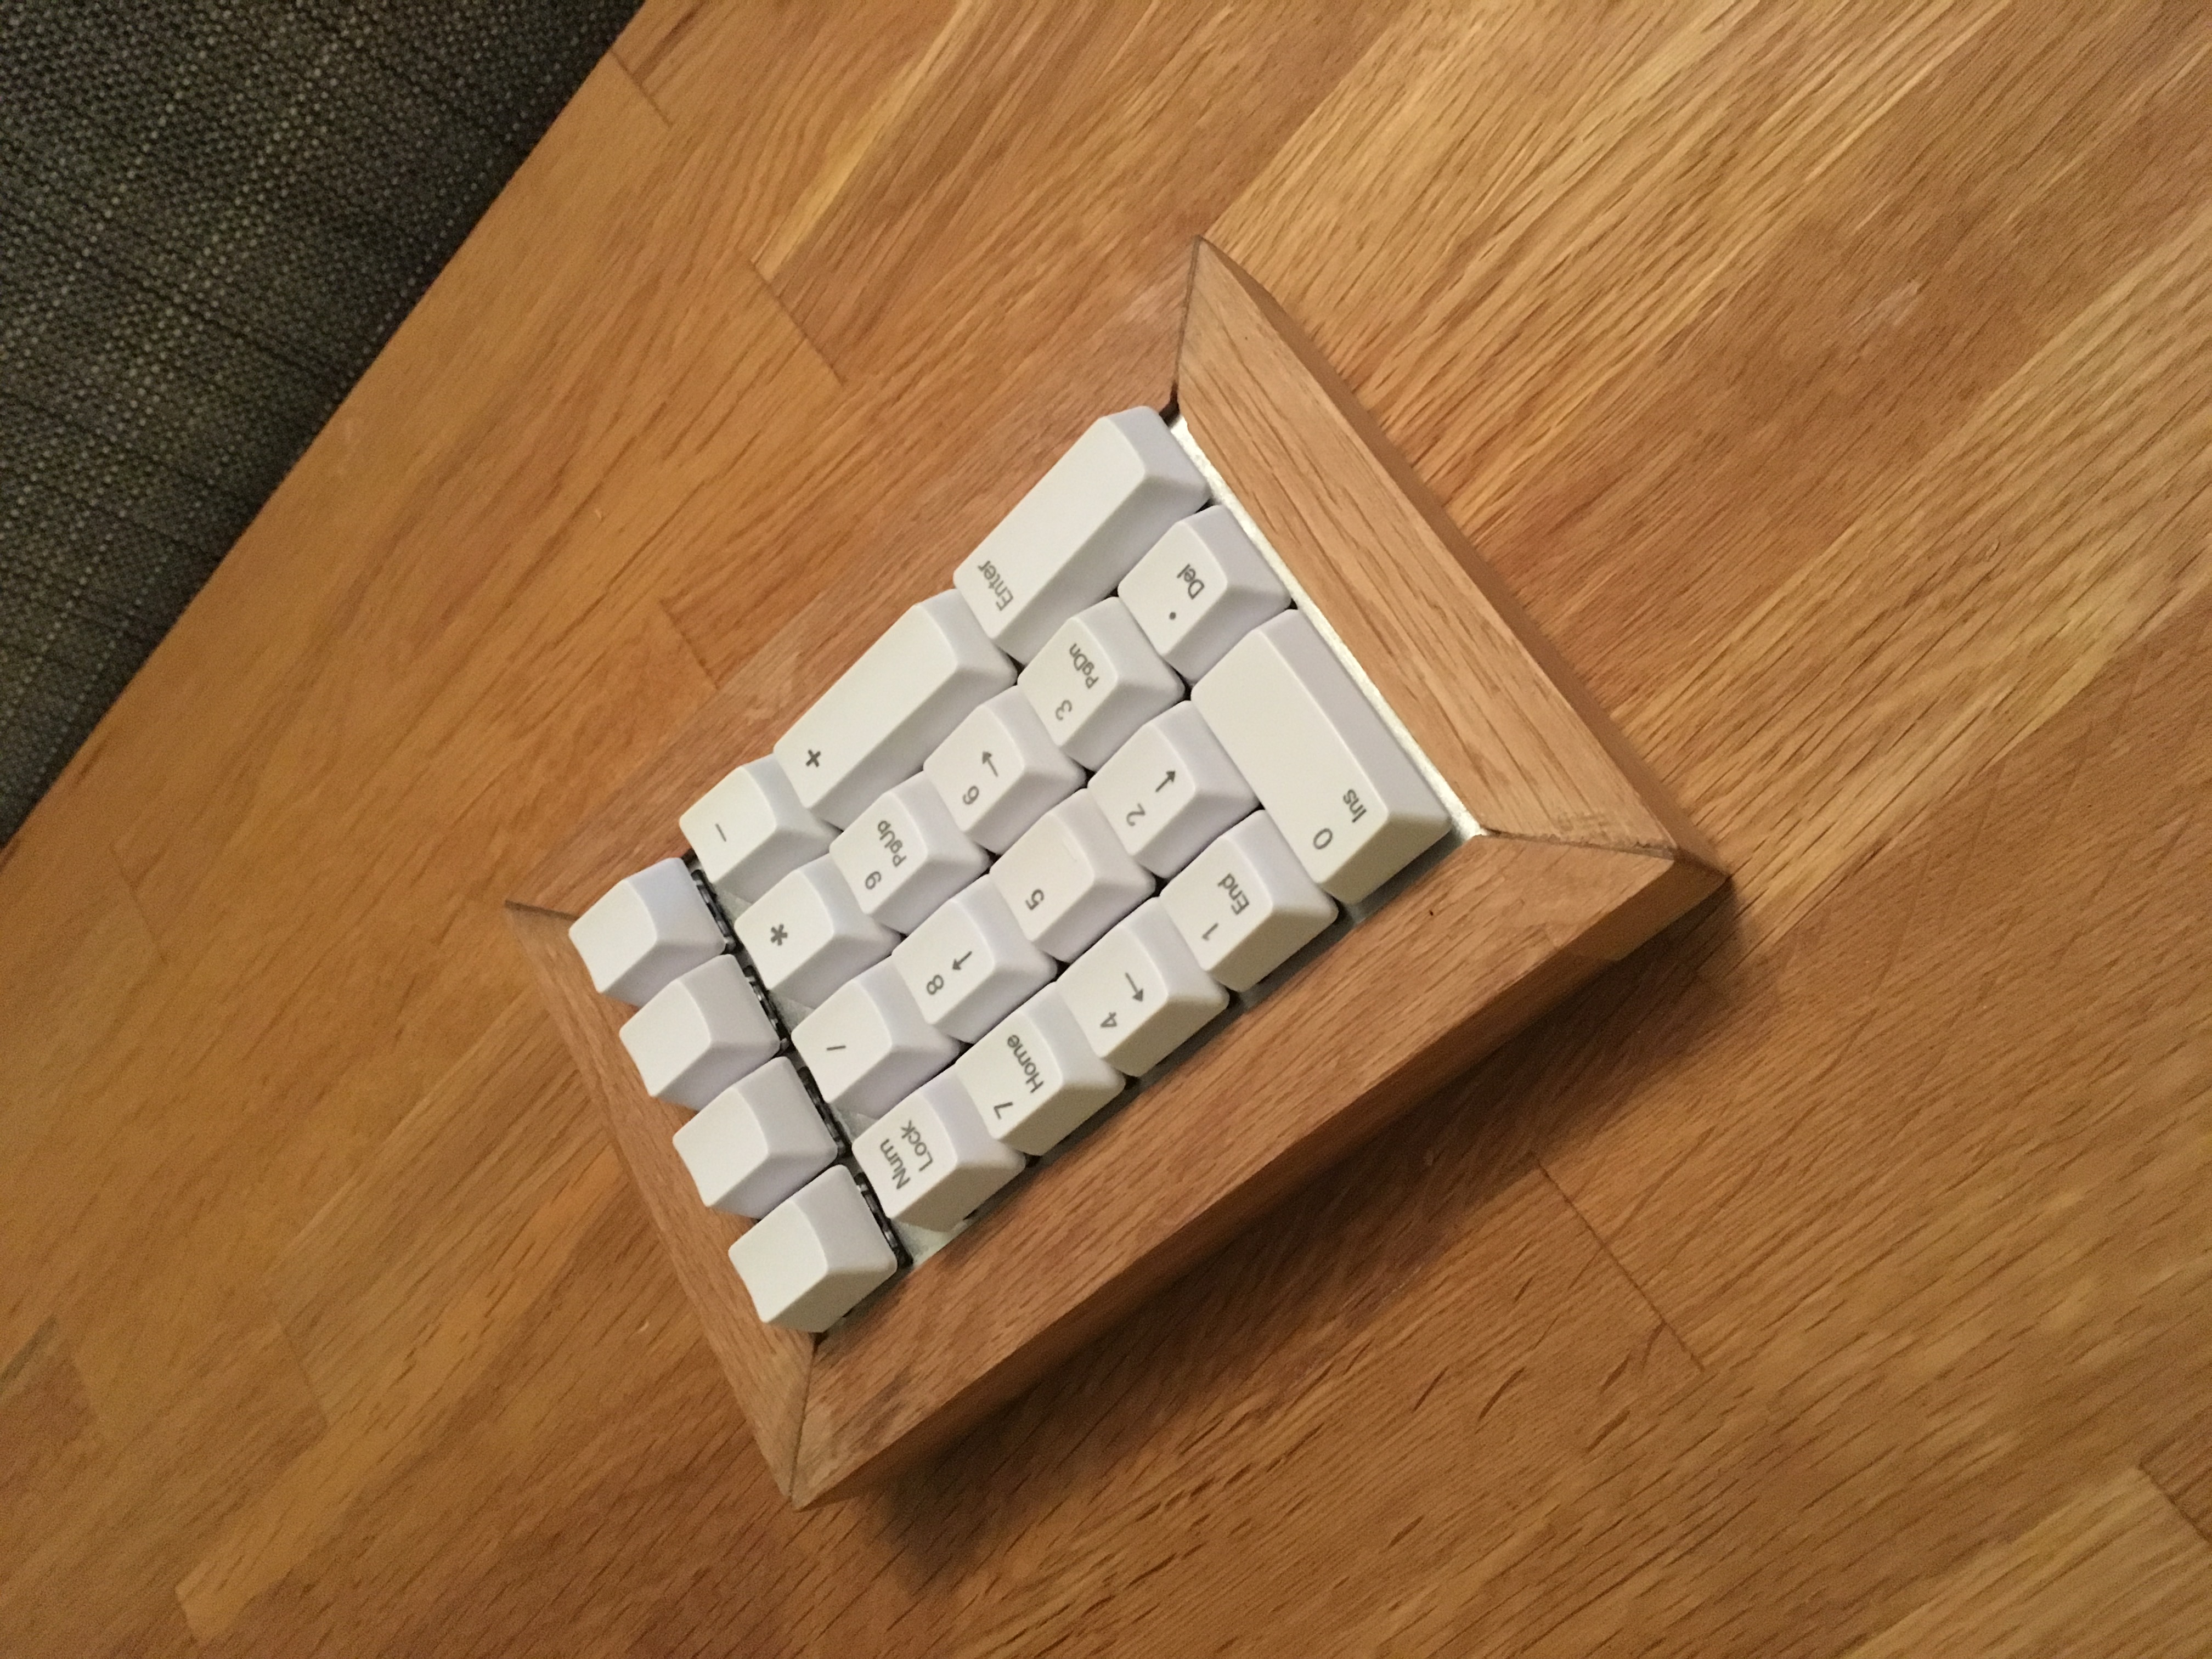
Found some adhesive rubber feet lying around, so I applied them to the bottom of the numpad. The device is finished. In it’s final form. The only thing missing now is adding some key caps to it.
The key caps came in the mail a week after. Ordered them from AliExpress.
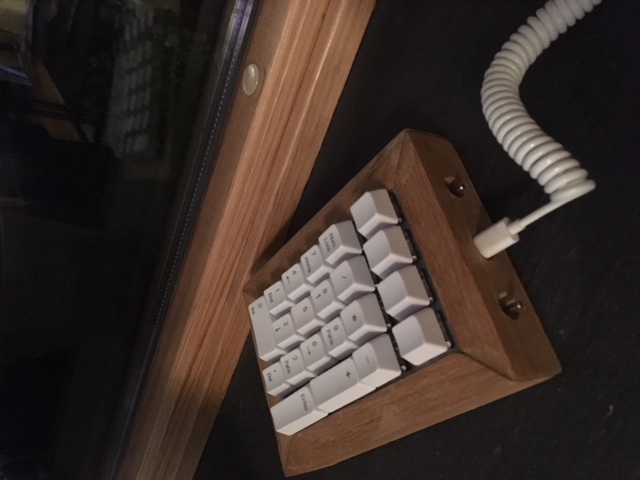
A short video of the device in action, can be found here.
Conclusion
In conclusion, I would say the numpad is functional. It works. However, there are a lot of things that could have been improved.
-
First, the software is a bit unfinished. For instance, handling a press-and-hold of a key. I might do that in the future. Or somehow use existing keyboard software ported to Arduino.
-
The frame is also a bit wide for my taste. Originally, I aimed at an 1 cm wide frame, but had to later adjust since I did not find any oak material with that thickness.
-
Not sand the angled surfaces, or be more careful when doing that.
-
Adding a blue led to indicate if the numpad is in USB or Bluetooth mode would have been nice to have.
-
I could also have removed the switch that switch between USB and Bluetooth. This could have been done with a special numpad key combo that I could include in the software.
Including the tools and material bought to do this project, it is one expensive numpad! However, can’t set a price on having fun. Plus, productivity in Excel will go through the roof with this device!