Learning Game Development Progress Report

I started looking at Unity around March of this year, and I though I could share what I’ve done since then. This includes learning resources, projects and so on.

The first thing I did was follow some of the tutorials provided by Unity. The videos are pretty good and easy to follow. I usually watched them at a speed of 1.5, and repeated what I watch in a Unity project. However, I often had to pause a video and reference the upgrade pdf guide, since the tutorials were made with Unity 4.x and I had Unity 5.x. You do get a good overview of Unity by doing these tutorials, so I would recommend you do them when you start out.

You can see the list of tutorials I did initially, over a span of a couple weeks. There are other tutorials available, but I skipped the 2D ones, and felt that the rest were more aimed at learning how to do Unity for specific genres of games.

After watching these tutorials, Unity seemed almost easy. So I decided to make a small game from scratch. Unfortunately, the tutorials gives you some false sense of confidence. It’s much harder when there isn’t a guiding voice, commanding your every movement in Unity. You can get overwhelmed quickly. It’s, therefore, important to start small and iterate. To do that I decided on a game which would be maybe a tad easier to make.

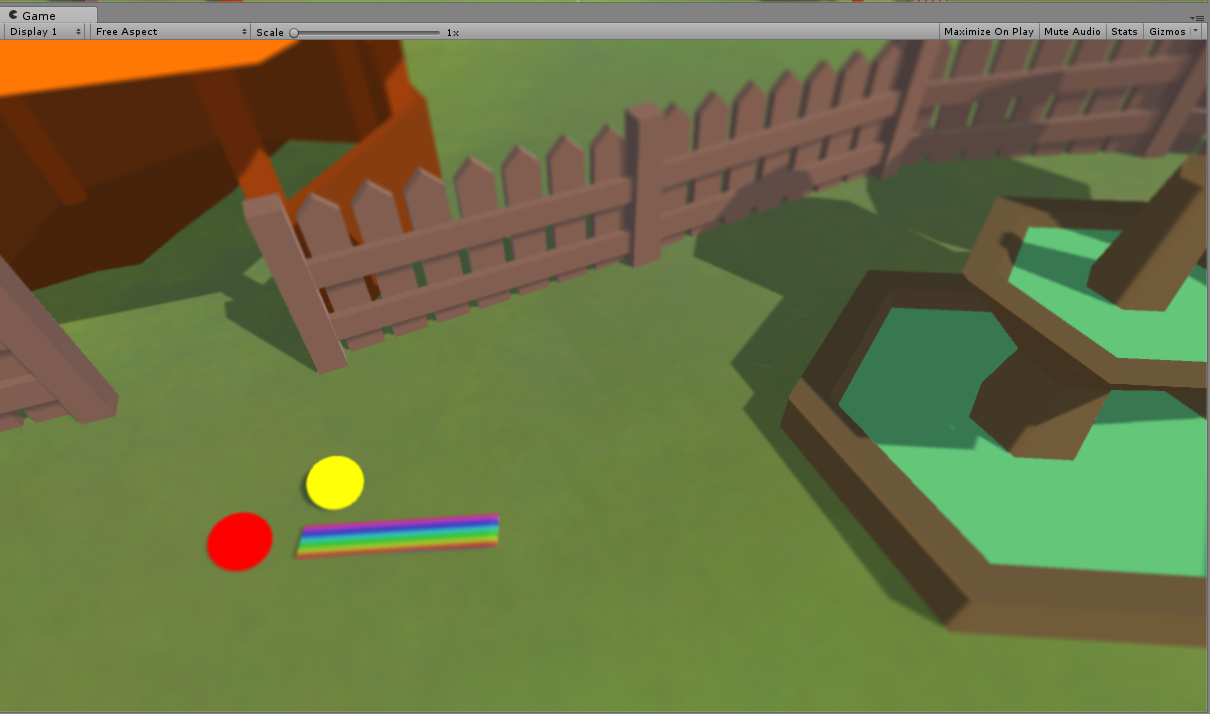
  • A golf ball (No character animations)
  • Single player
  • Free assets from the Unity Store (No 3D modelling)
  • Choose a subset of Unity to focus on:
    • How to make a UI
    • How to use a game controller as input
    • How to do physics. RigidBody, Force, Colliders
    • How do a simple game loop

Basically, learning by doing. This may not be as straight forward as doing tutorials, but you’ll learn more. In addition you will learn a habit of visiting the Unity documentation and googling issues your having.

I’ve since extended the game further by adding new features in order to try out other areas of Unity. You can probably guess that this have made my scripts messy and harder to maintain. However, this also gives you an excuse to learn more about how to better structure your code. For instance, I’ve found some of the video on this YouTube channel helpful. I’ve extended the game by implementing the following:

  • Local multiplayer game (Couch gaming setup) with 4 players
  • Transition between scenes (Player selection scene to game scene)
  • Transfer data between scenes
  • A more advanced game loop
  • Music and sounds
  • Input scheme for 4 game controllers
  • Random spawn points for players
  • Instantiate prefabs in scene
  • Tweaked around with physics
  • More advanced camera. Set new targets, rotate camera and zoom.

Golf game

Lately, I’ve been trying to learn 3D modelling in Blender, because the not-so-small-anymore game requires some custom 3D props now. This is an almost new area for me, at least Blender is. Again I started by doing some tutorial videos on YouTube, but found them not helpful at all. Blender is confusing, especially when you start off with tutorials that assume some existing knowledge of blender’s layout and shortcuts. I therefore, bought a heavily discounted Blender course at Udemy. This is a comprehensive course, and contains, like, 48 hours of material. So, making a couple of simple 3D props, quickly evolved to a much bigger project.

That’s the current status on what I’ve done so far in learning game development. Time consuming hobby…

Multiple GitHub Accounts on Your Computer

Hello there!

The better part of this weekend have been spent setting up a Jekyll blog hosted on GitHub Pages. The site, after adding a custom theme based on the Jekyll template Hyde, now looks fairly okay. In addition, I’ve actually managed to land on an acceptable pseudonym, EqualPasta. I guess the configuration phase of this blog project can be considered done. That means I actually have to start writing about something, which brings me to today’s post.

Since I’ve decided to use a pseudonym, I’m now forced to have two GitHub accounts to not give away my identity. I also want to push commits to repositories on both accounts, preferably without any manual steps. That means, handling a new SSH key and map repositories to the correct key. Below you’ll find a recipe on how I did it.

Multiple Accounts Recipe

1. Create a new SSH Key

Similar to how you generated a key to use with your first account, you will need to generate an additional SSH key for your second account. In your terminal window of choice (Git Bash for instance) write:

  ssh-keygen -t rsa -C "[email protected]"

Be careful not to overwrite your existing key. Add a suffix when prompted about where to save the file. For instance, id_rsa_equalpasta.

2. Set up the SSH Key

Add the SSH key to GitHub by first copying the new key:

  clip < ~/.ssh/id_rsa_equalpasta.pub

Go to GitHub key settings, click new SSH key, and paste the key into the text field from your clipboard. Remember that this should be done on your new GitHub account!

Then, add the key to the SSH-agent on your machine:

  eval $(ssh-agent -s)
  ssh-add ~/.ssh/id_rsa_equalpasta

3. Create a SSH Config File

To be able to use multiple GitHub accounts on your computer, you’ll need a SSH config file where we list the different keys. We will later set up a Git repository to use the correct key when pushing commits.

Create the config file:

  vi ~/.ssh/config

Add something like this to the file:

#alternative account
Host github.com-equalpasta
  HostName github.com
  User git
  IdentityFile ~/.ssh/id_rsa_equalpasta

#personal account
Host github.com
  HostName github.com
  User git
  IdentityFile ~/.ssh/id_rsa

And save it.

4.Set up of Your Repository

  1. Clone your repository from GitHub, [email protected]:EqualPasta/blog.git.
  2. Cd into the folder and configure your Git. The name and email associated with each commit you push will be visible to GitHub and people in general. So, to change these values to something better suited for you, do:
      git config user.name "equalpasta"
      git config user.email "[email protected]"
    
  3. Then, finally, update git remote to automatically use the correct key. This is done by modifying the remote git address to a host found in the SSH config file you just created. In my case, github.com-equalpasta. To change the origin remote do:
        git remote set-url origin [email protected]:EqualPasta/blog.git
    

so before:
git@github.com:EqualPasta/blog.git

After:
git@github.com-equalpasta:EqualPasta/blog.git

You should now, hopefully, be able to push commits to the repository. Existing repositories work as before, which means that you now can push to multiple accounts automatically.

Further Reading

Codetuts: Multiple accounts
GitHub: Setup of SSH key
Jexchan: Multiple accounts
Keybits: Automatically use correct ssh key

Hello World!

oh my… It works!